Peter Galbert Innovates WIA
 I feel bad for everyone who presented at Woodworking in America. Y’see, the very first session I attended at 8:30 on Friday morning was Peter Galbert’s “Windsor Innovations”. It was so good that no one could possibly follow it in my mind. I could have packed up and gone home a happy woodworker. Instead I persevered and hung in for 2 more days. It was tough, let me tell you but somehow I made it through. Probably because Peter gave 2 more seminars to give me my fix. Those were also quite good but I really want to focus on his initial “innovations” session.
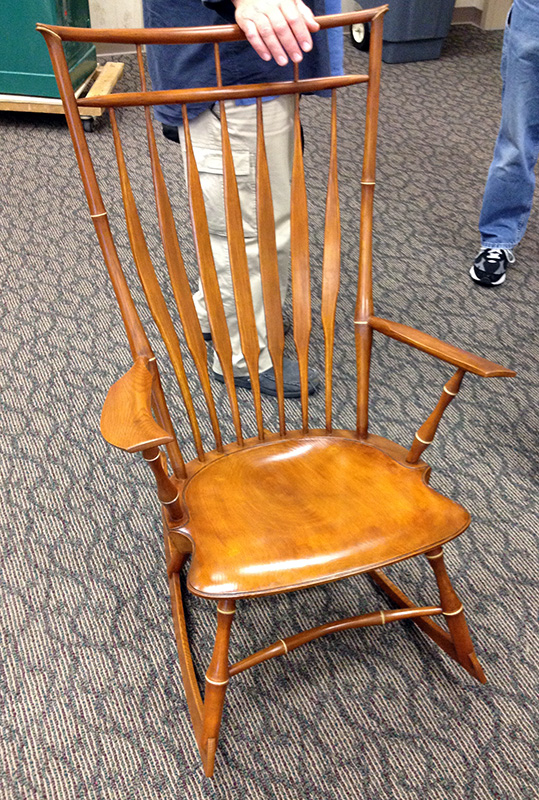
Peter’s beautiful Birdcage Windsor
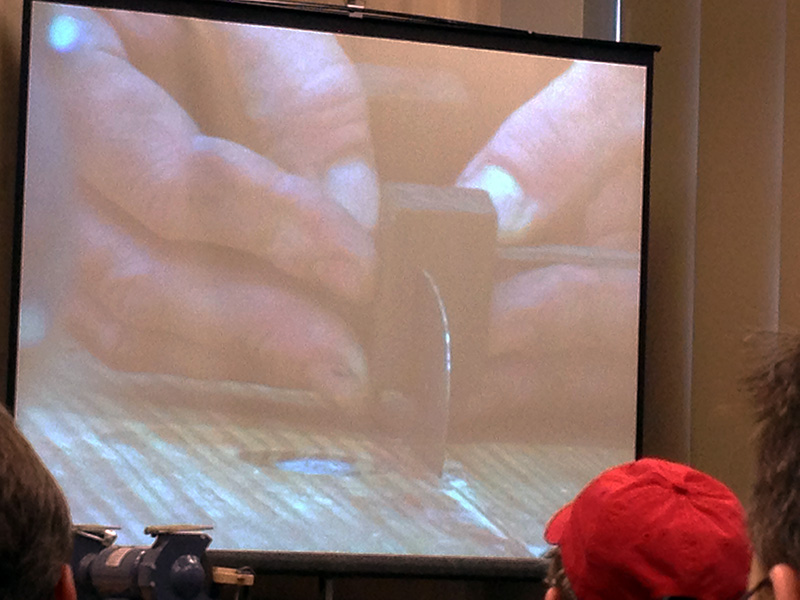
A block with a notch that references a file square to the scraper edge is Peter’s secret to perfectly sharpened card scrapers.

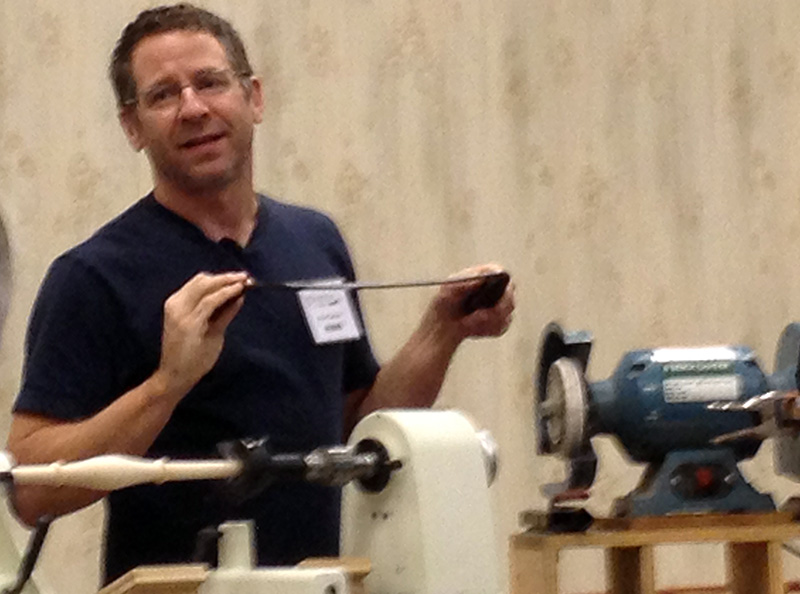
A perfect example was with drill bits so he opened the class by showing us how to quickly convert a cheap twist bit into a brad point with a very long point capable of starting an any angle. Note that I say “starting” at any angle and not starting vertically then shifting to the desired angle. It was during this grinding process that Peter reminded me that High Speed Steel won’t lose its temper until it becomes Cherry red so he just went to town never slowing to quench and was done in seconds. I admit to slowing down and quenching my turning tools (or using a water cooled grinder) for years because I never questioned if the steel I was using really needed to be quenched. Another point for the inquisitive Peter!
“For years I was told that I was supposed to split wood down the middle with equal amounts of wood on both side of the froe/wedge. I decided to find out why this is.” he say again then launches into a fascinating explanation about angle of deflection as it relates to wood grain. The upshot being that as long as you equalize the grain deflection on both sides of the froe you can split a 1″ strip off an 8″ piece. So he grabs one of those ratcheting cargo straps and uses it to apply bending pressure to the thick side of the log with his foot and “POP” off comes a perfect 1″ piece. Just by simply asking why something “must” be done, Peter contrived a way around it without breaking any “rules”.
“I couldn’t find a way to repeatedly reference my bevel gauge off a round, curved surface in order to capture the resultant angle. So I drew a straight line on the leg and measured from there”, says Peter matter of factly. This act of dictating the reference kind of blew my mind. Where in the past I have used winding sticks and all manner of tricks to repeatedly measure an odd piece, Peter just assigns a random line and bases everything from there. I actually used this technique when building a continuous arm Windsor while at The Woodwright’s School to accurately lay out the holes for the stretchers. I didn’t think much of it at the time beyond the task I was doing, but Peter made the lightbulb come on about how I could use it elsewhere.
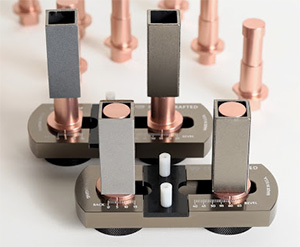
Photo courtesy of Benchcrafted
This is just the tip of the iceberg and the more I look at my notes and recall the session the more I scribble down thoughts to try in my own shop. What more could you ask of any teacher? The coolest part of this session was Peter’s talk about designing chairs. Windsor classes now walk you through building the chair and we all work off a time tested template with sight lines and resultant angles penciled in already. In other words all that design stuff was figured out already and no one talks about how it was done. I don’t know whether this is a closely guarded Windsor chairmaker’s secret or if it has been done this way for so long now that no one questions it.
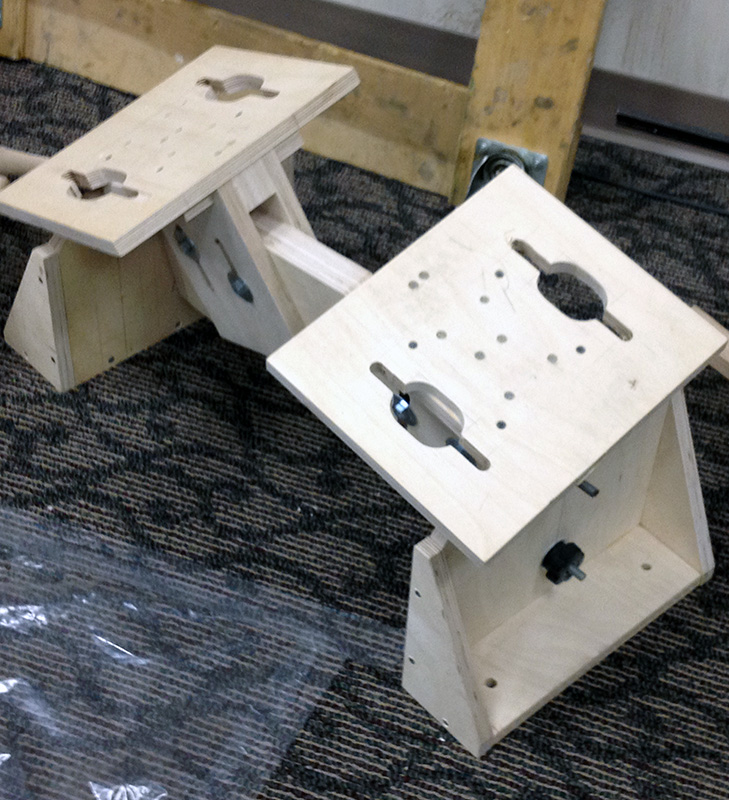
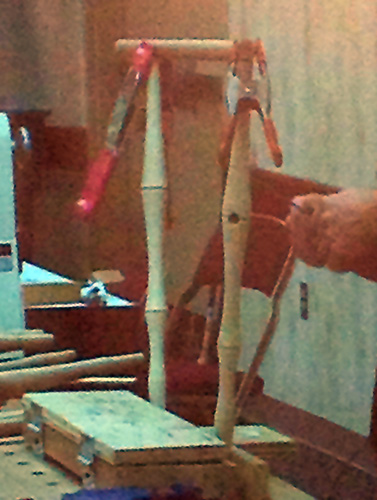 Leave it to Peter to start pushing the limits. He has several simple tools that allow the maker to calculate resultant angles when you design and a cool little “jig” (not sure what else to call it) to help figure out the ideal position and shape of the back of a chair. Its kind of like a real world SketchUp where you can move the parts around until you like what you see then measure all your angles and positions from the jig. Essentially it is a flat reference surface meant to mimic the chair seat with open bridles at the 6 degree taper angle used to attach posts to the seat in a chair. Peter can rotate his mockup posts or change the angle to the seat until he finds just the right look. He can then take measures for crest rails or try out the look of an existing crest rail.
 Its not all about hand tools either. Peter throws several modern things into the fray like Veritas tenon cutters chucked in a lathe and a crazy looking router jig used to accurately cut the bridle joints on the leg bottom for rockers. With every new thought, you could see 10 more brimming at the surface of his energetic and humorous presentation style and I couldn’t help but imagine what it would be like to spend a week in his shop just soaking it all up. This is something that just jumped to the top of my list by the way.
Finally, Peter is an avid blogger at his blog, Chair Notes. You will notice I have linked to it several times already as just about everything he talked about he has already written there. It is a good place to lose a few days reading.
