Turning Travel Mugs
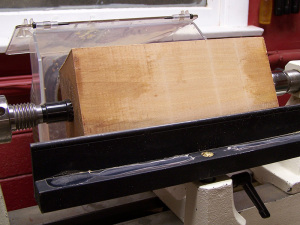
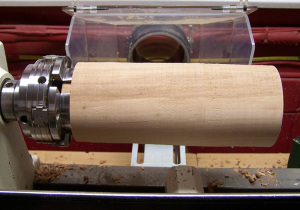
 It’s the end of October and I have actually gotten started on my Christmas turning already. Every year, I have the best intentions of getting started about now and every year, I seem to wait until Thanksgiving weekend to fire up Santa’s workshop. Well last night I chucked up a 3.5″ Cherry blank and made a travel mug.
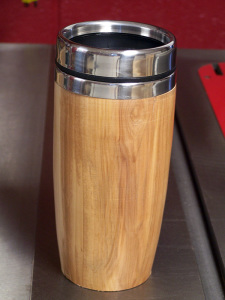
I have made these before. The hardware comes from a Woodcraft kit and the process is pretty straightforward. The outer dimension is up to your imagination though function and comfort should be your guide (and fitting into a car cup holder) and the hollowing on the inside can be guided by creating a template of the stainless steel insert. You remove a little wood then insert your template to identify the high spots. Lather, rinse, and repeat until you have a nice snug fit. Finally you add a little epoxy around the rim and secure the insert in place. The reality is that the hardest part is finding a wood blank large enough so I have often seen this mug turned from a laminated blank to make the best use of scraps.
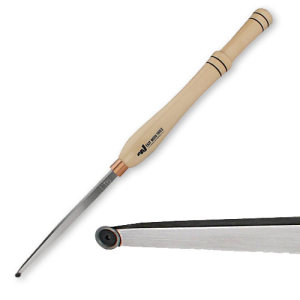
 This time I was excited because I am using my new set of Easy Wood Tools Hollowers. I have said before that a mediocre, fair weather turner like myself is perfectly suited for these tools and they have eliminated the frustration. In the past I drill out the bulk of the interior using a forstner bit and a Jacobs chuck mounted in the tailstock. This time I just went to town with the hollower in and less than a minute I have the rough shape. I then proceeded to refine the shape til my template fit perfectly and it was on to sanding the exterior and applying a friction polish finish.
I applied the epoxy then set the mug aside to cure. All told, I went from rough blank to finished product ready to wrap in about 35 minutes. Previously this was a multiple hour project that required several set up changes at the lathe. Once again, Easy Wood Tools makes my life easier and turning so much fun. 1 down, 10 to go!


