Joinery Bench Not So Rough Cuts
The first steps in my Joinery bench build entails laying out some rough cuts and selecting which pieces will be best for the top and legs. While this Douglas Fir is very clear, there is an errant tight knot here and there and I would rather not (pun intended) have one on the top surface. More importantly though is keeping a knot away from the joinery areas. Planing a knot is easier than chopping through one for a mortise.
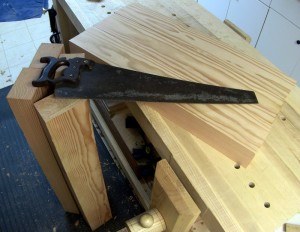
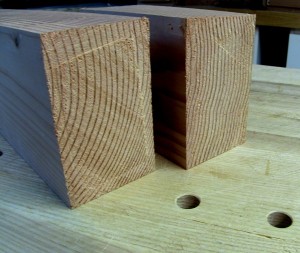
I determined that my legs will need to be 40″ to set my bench at the proper height just below my bent elbow and I used the least clear stock for these parts. I saved the completely clear sections to cut out 3, 32″ long sections for the top. While I will be truing up the top after it is glued together it will save time to make highly accurate cross cuts now that are square and plumb. This is done by laying out your cut line on all 4 sides of the board. Start a kerf on each of those lines thus connecting the dots and providing a guide to keep your saw on line through a thick timber.
The process leaves interesting tool marks but yields a dead accurate board within 1/32nd of my finished length that is dead square. Working with a softwood after even Cherry is like cutting butter and it was lots of fun to make these cuts. My freshly sharpened 7 ppi Disston saw cut like it was on autopilot and before I knew it I had my 4 legs and 3 top parts sized and ready for joinery.
Next I’ll be squaring the edge for the two glue lines in the top.


