Make Your Own Scratch Awl
Today was a banner lathe day. I started out with the intention of just making a few pens while waiting for the second coat of varnish to dry on my Windsor chair. When digging in the drawer for my pen press, I stumbled across a scratch awl kit in the bottom.
I think I probably bought this 4 or 5 years ago because I was in desperate need of an awl. Obviously I figured out a band-aid solution and hadn’t thought of it since. In the past few years, my hand tool obsession has me doing more and more hand work. I also keep reaching for my non-existent awl time and again. Well today when I rediscovered this little kit it was like Christmas time in July.
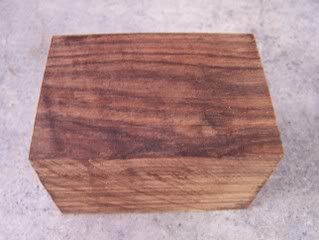
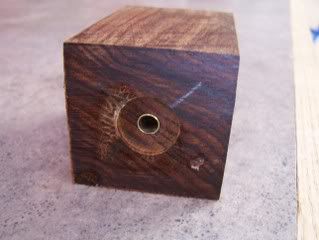
I have some beautiful Cocobolo left over from a candle votive project I did last Christmas and these chunky blanks were an almost perfect 2″ square. I cut off a piece about 4″ long and drilled a 7mm hole down the center.
Like any pen kit, I had to glue in the 2 3/4″ brass tube. It is threaded onto the mandrel using typical 7mm slimline bushings. I set to work rounding the blank with a roughing gouge and started on a rough shape to the handle.
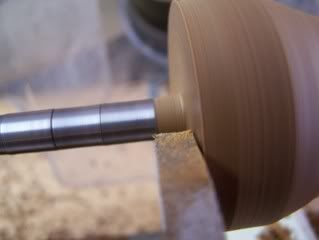
The brass parts screw onto two threaded bushings that press onto either end of the handle so I had to turn a 1/4″ tenon on each end to receive those bushings. Fortunately the design of this kit is quite simple so that all you have to do is use a 1/4″ parting tool to turn the blank all the way down to the brass tubes.
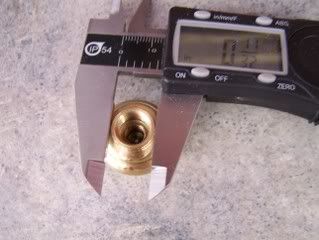
Next I wanted to get an idea of the diameter of the brass fitting on either end so that I could match the curve of the handle to blend seamlessly into the brass. Using a caliper I discover I needed to get to 11/32″ to match the outer diameter.
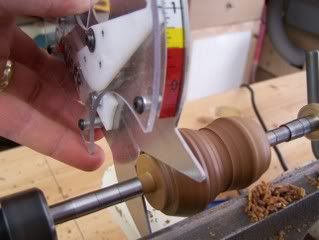
I have this killer tool I bought from Peter Galbert that allows you to size while turning. This is so incredibly useful for tasks like this.
Peter has a few great videos up on his site demonstrating the caliper that do a much better job than I could do here so go check them out.
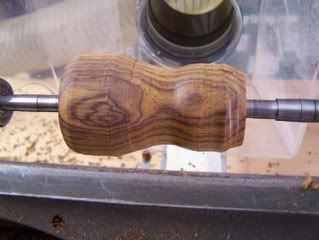
Finally having roughed in the end diameters I switched to my spindle gouge and started to refine the shape. I was on a roll so I just started turning away wood. Before I knew it I really had gotten carried away and I was not liking how the shape was coming out at all. This is where it is really helpful to have a drawing in front of you to follow. I had only pictured it in my mind and you can see how well that worked. out. So I had to scrap that blank and start over.
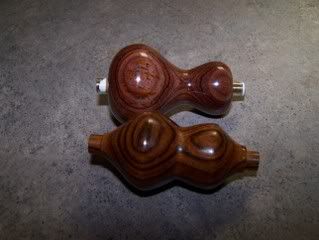 Here you can see the two blanks (yes I went ahead and polished the first screw up, don’t ask). Now it should be obvious why having a drawing with measurements produces a better end result.
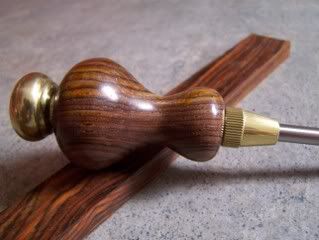
Sanded to 12,000 grit, Danish oil, and some Shellawax polish brought out an amazing shine. One of the things I really like about Cocobolo is that each piece is truly unique. The two pieces above came from the same blank and yet they have differnt hues to them. You never know what you are going to get with this stuff.
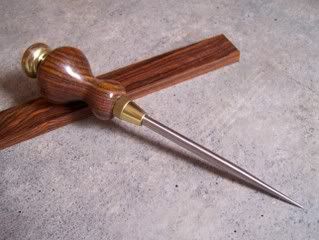
Here is the complete awl. I’m almost afraid to use it now. Maybe I’ll just hang it on the wall and stare at it. 🙂


