A sturdy mallet for my new carving obsession…
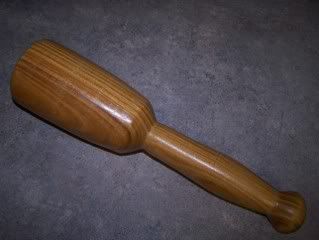
So last month in my Tales from the Hoard post I highlighted a chunk of Lignum Vitae. After my recent foray into carving I decided to put that particular piece to use and turn a new carving mallet.
I thought this might make a good post on typical spindle turning. Let me warn you though that there is nothing typical about Lignum Vitae. This stuff is ridiculously hard!! I must have hit the Tormek about 3 different times while turning this mallet.
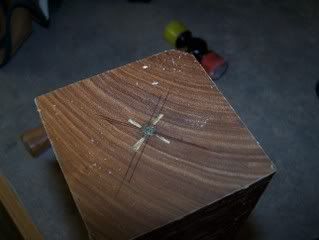
Anyway, after cutting the block to an approximate length leaving about 1 inch on either end for mounting in the lathe, I marked the centers. Then I seated the drive center on one end with a good knock from a plastic tipped hammer.
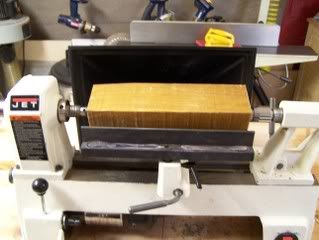
Then I mounted the block in the lathe. You don’t need to apply too much pressure on the other end with the tail stock. Many people tighten this too much and it can damage the bearings on your head stock. I slide the tail stock close, lock it in place, and screw the live center over until it touches and then about 1/2 turn more to seat the piece. Just make sure you seat the tail stock on the center mark.
With the diameter of this piece being over 3 inches and the length just over 12″ I dropped the speed down to 1200 RPM. Using a 1″ roughing gouge I turned the whole block into a cylinder. Then I used a pencil to mark out the transition dimensions on the blank where the mallet tapers, transitions to the handle, the handle flares, and then finally terminates.
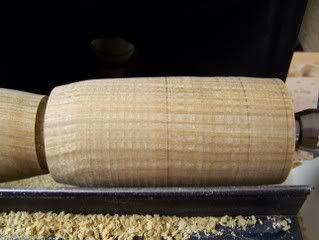
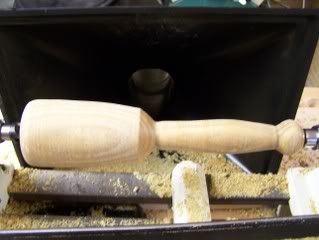
Using a 1/4 parting tool, I reduced the thickness at each point to my desired diameter using my Galbert caliper. The back to the roughing gouge I formed the gentle taper of the mallet head.
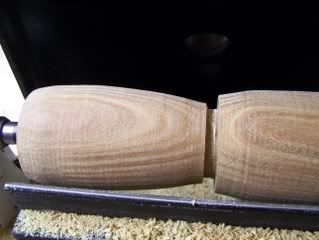
With the curves of this piece being so gentle I actually use the roughing gouge to do all the shaping with the exception of the sharp taper from the mallet head to the handle. Here I used a 1/2 spindle gouge.
Finally, I used my parting tool again to define the ends of the mallet but kept the material thick enough to support the sanding and finishing. I worked from 150 grit up to 400 grit and then put a single coat of shellawax on the mallet and it was good to go.
During the final parting from the lathe I did taper slightly inward forming a slight concavity on both ends. This allows the mallet to stand on it’s end on the bench without rocking.
With about 30 minutes of work I now have a carving mallet to last through the ages!


