Google Analytics Alternative

RWW 35: Benchcrafted Vise Installation Part 1

End Vise, Roubo Workbench
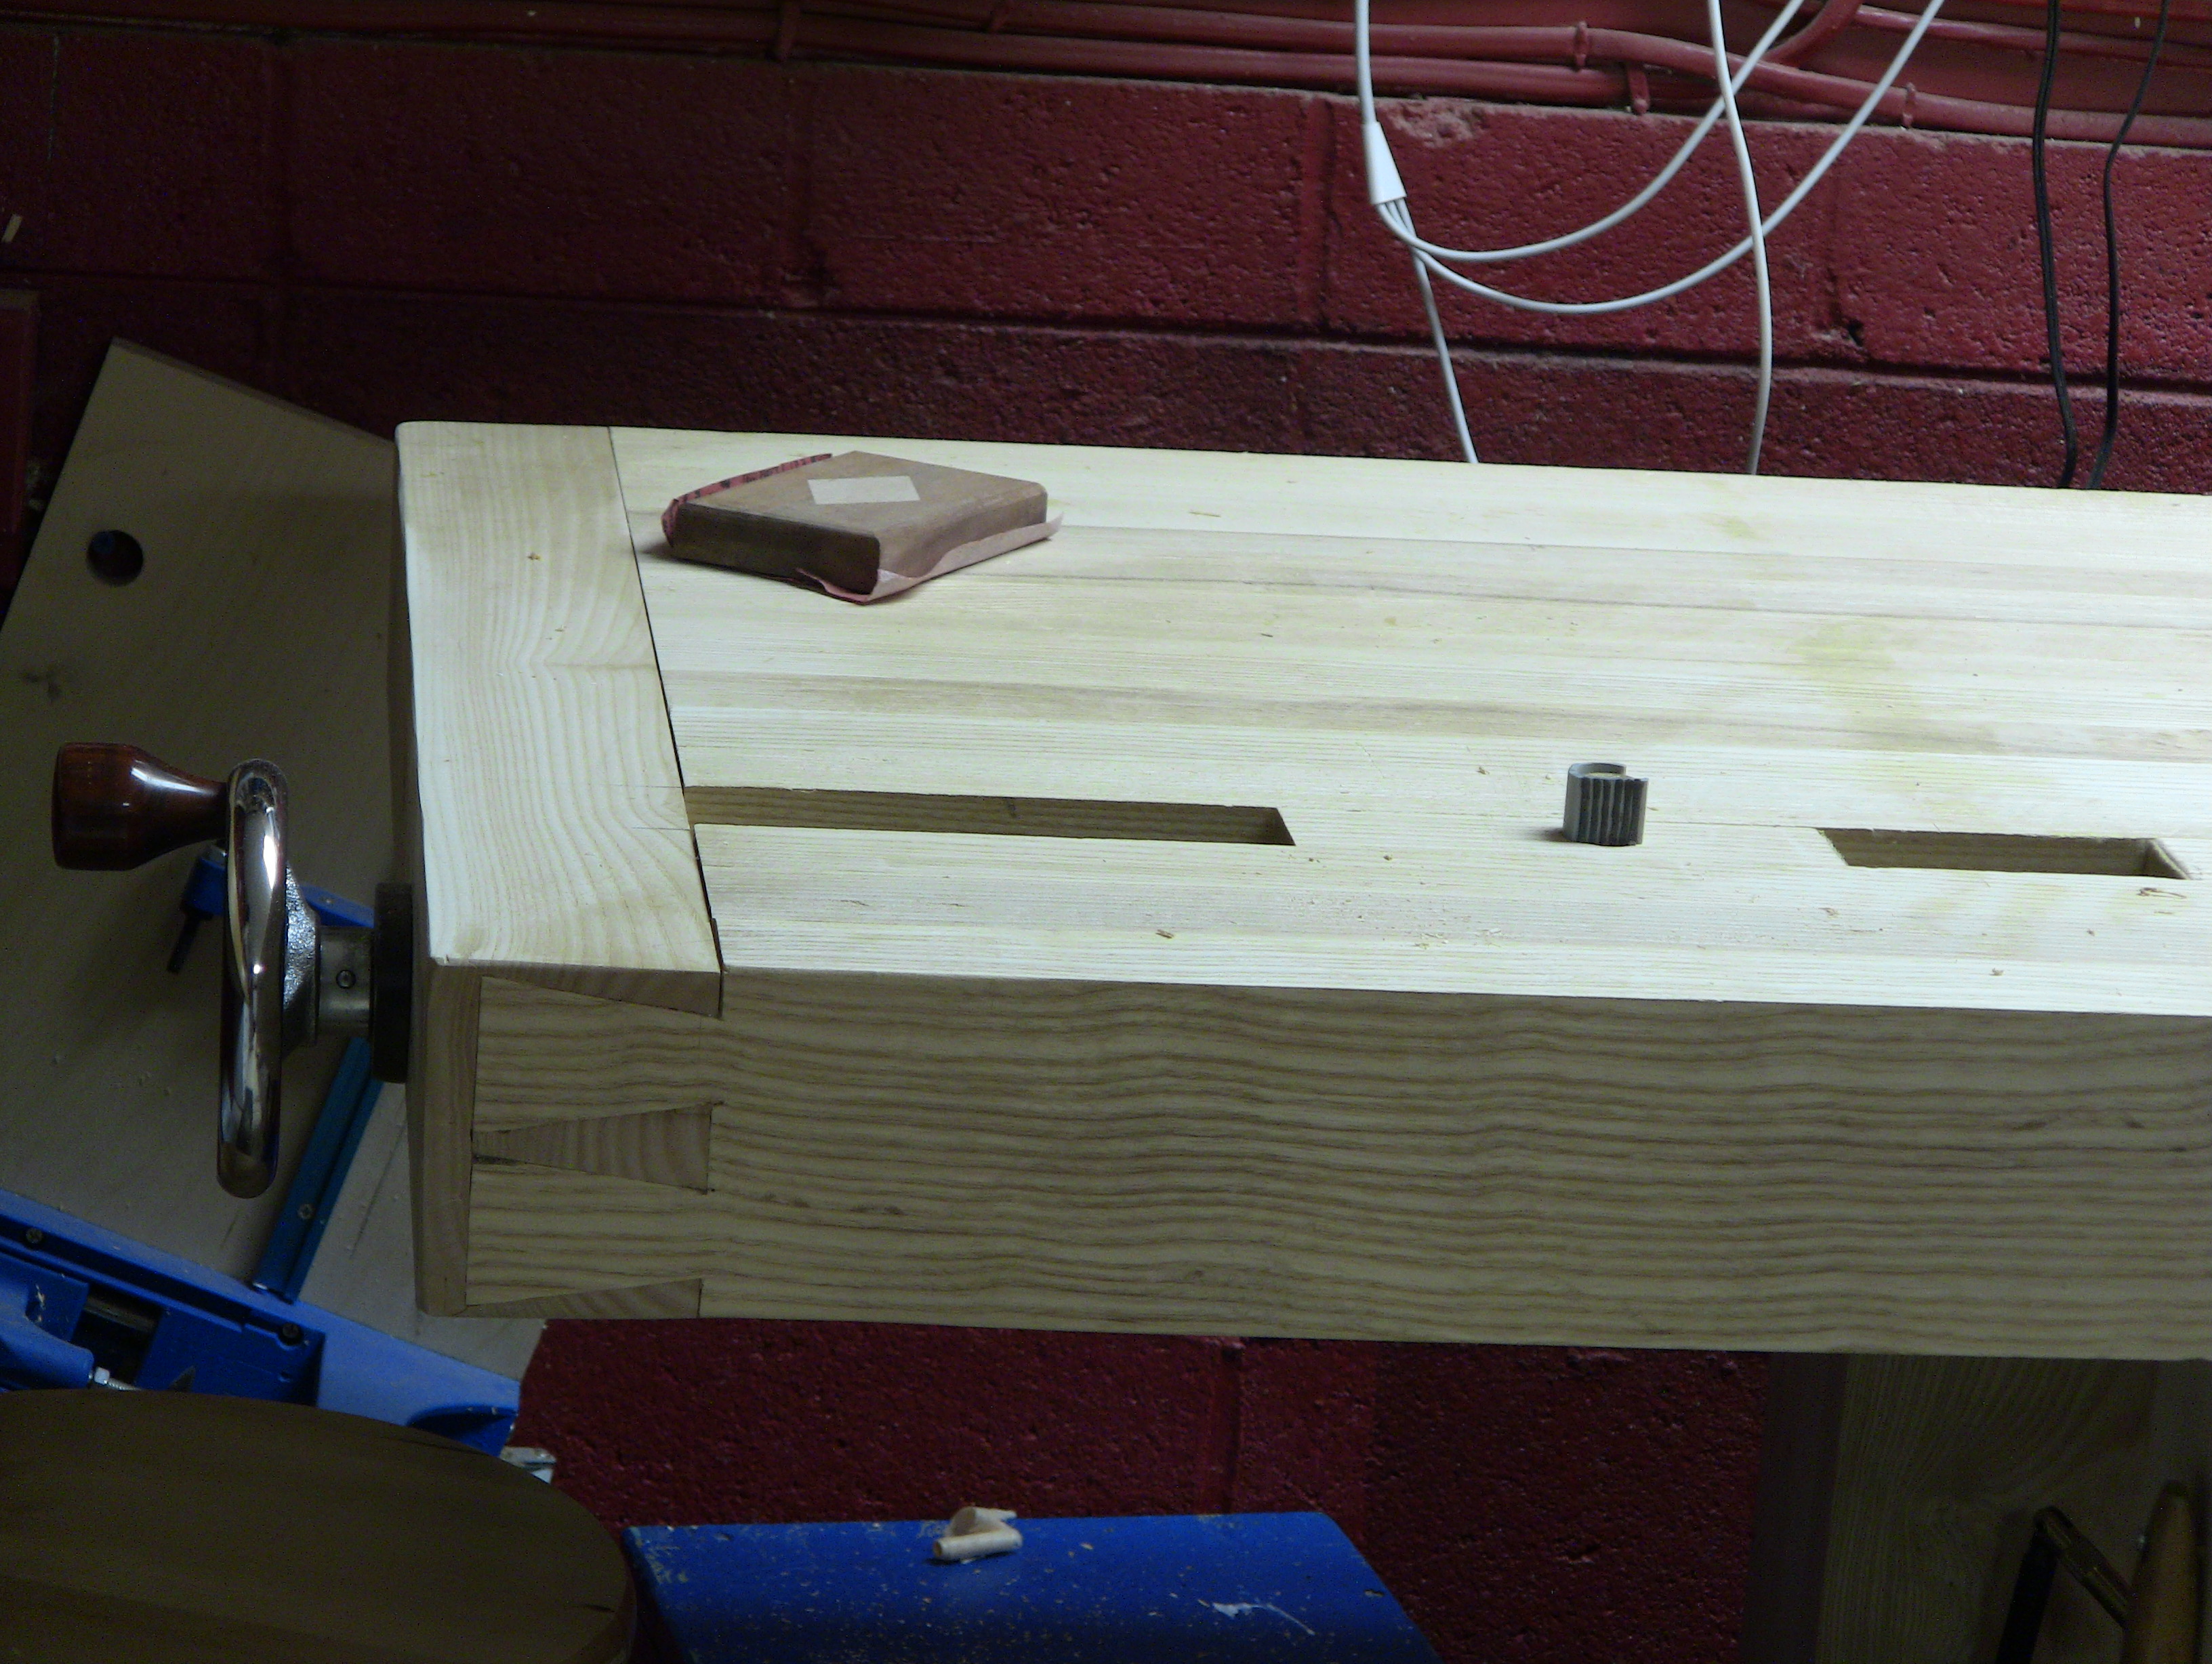
This week I break everyone’s heart by tearing a monstrous hole in my beautiful benchtop. After all the weeks of slaving over grain direction, pattern, etc, I will discard it all for a big piece of metal.

For those of you not familar with Benchcrafted’s tail vise, check out the link and bring a napkin to wipe away the drool. This is a beautiful piece of equipment and the dream addition to every bench. The install is daunting to say the least and it has many parts, all of which need to be executed with great precision. That is why I took an enormous amount of video footage during this install so I could share it all for any of you thinking of adding this vise to your benches.

And no, Jameel did not pay me to put up this post. (Jameel, use the Cayman Island’s account) Seriously, the fine folks at Benchcrafted have produced a great product and I hear they have something even more interesting on the horizon. Follow their blog and keep up with all the news!

Leave a Comment:

All fields with “*” are required

Jacques Duguay aka Traumajacques

Holly crap! Is the first thing that comes to mind…that must have scared the living day light out of you? I remember a guy on LJ awhile back who broke an arbour while tightening a dado set; the broken metal looked just like the metal on your spiral bite. Someone who knows a lot more about metal than me commented that this defect was made during the foundry process and that other than x ray no one would have found it. It just could not sustain the stress at that particular area. I am glad you did not sustain any injuries and that the bench is OK. Great videos can not wait for the continuation.

Jacques Duguay aka Traumajacques

Here is the link I was taking about.
http://lumberjocks.com/jocks/Speednork/blog/7624

Joanthan Hartford

Wouldn’t be a proper project without at least 1 big goof!

Michael

I have been in a situation like that once with a router table. The collet wasn’t tightened enough and the bit got loose. Thankfully it was compleatly sorounded by the workpiece and I was able to shut it down without any misahaps.

I like the way you fixed the goof with the plunge going too deep. Nice smooth fix and you can’t see it. I know that I am going to get one of Jameel’s vices for my bench someday so this was good to see this level of detail on the install. Keep it coming Shannon.

Dave

Shannon,

What are the dimensions of the tenon on the end of the top? Seems like maybe 1-1/2″ long and thick but didn’t hear you mention it in the video.

    Shannon

    Dave, the tenon is just under 2″ thick and 1-1/2″ long. In reality this could vary greatly depending on how thick your end cap piece is. I just chose to go half of the thickness of the cap and half the thickness of the top to make the tenon.

Hamit

Can I install the tail vise just with hand tools or do I need power tools?

    Shannon

    Absolutely you can do it with hand tools, no problem at all. In fact the install is much much easier than when I did it thanks to a couple of design changes by the manufacturer