Raging Against Plane Making Tradition
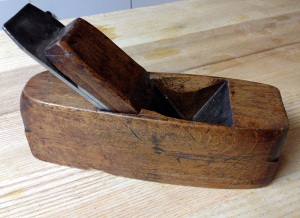
I’m enrolled in Scott Meek’s Planemaking Class right now and have just started laying out my boards and milling my pieces. In our first session we talked about sizing our center block and 2 cheeks. Most of this discussion centered around grain direction and being the typical well read internet woodworker I nodded my head and blithely plowed forward with the conventional wisdom on orienting your plane so that the growth rings run from side to side and the medullary rays run vertically. In abstract this makes perfect sense but in reality when your blank may not have perfectly parallel grain you need to think through the mechanics of wood movement and consider the stresses in order to make compromises. I know what a lot of you are thinking, ditch the blank and find a better one. Yes I know and as someone who works for a lumber company I could easily do this. But it is in the compromises that I find we learn the most about our craft. So I began scribbling on the end grain of my boards, taking pictures, and sending wordy emails to Scott full of 4 dollar words like anisotropic and adiabatic (okay maybe not the second one, but perhaps useful to consider should you build a workbench in the back of a plane to combine your skydiving and woodworking passions). After some time pondering this and considering conventional wisdom and the options laid before me in real time I’m starting to think that the laminated plane, dubbed the “Krenov plane”, may defy the traditional dogma of centuries of planemakers. Perhaps the laminated plane needs not be so picky in grain direction and potentially easier to make with everyday stock.
Internet Decorum Public Safety Announcement
Before you haters get your panties in a twist recognize that I am not a planemaker and am speaking out my ass. I do consider myself a student of wood though and probably spend more time than most contemplating grain direction. So take this writing for what it is, contemplation that needs to happen in order to further my knowledge. I emplore those in the know to weigh in here and share your knowledge but to do it in a respectful way. I realize this can be tough when someone questions the very fundamental fabric of the universe of plane making but trust me, we will all be better for it when rational discussion ensues.
The Traditional Method
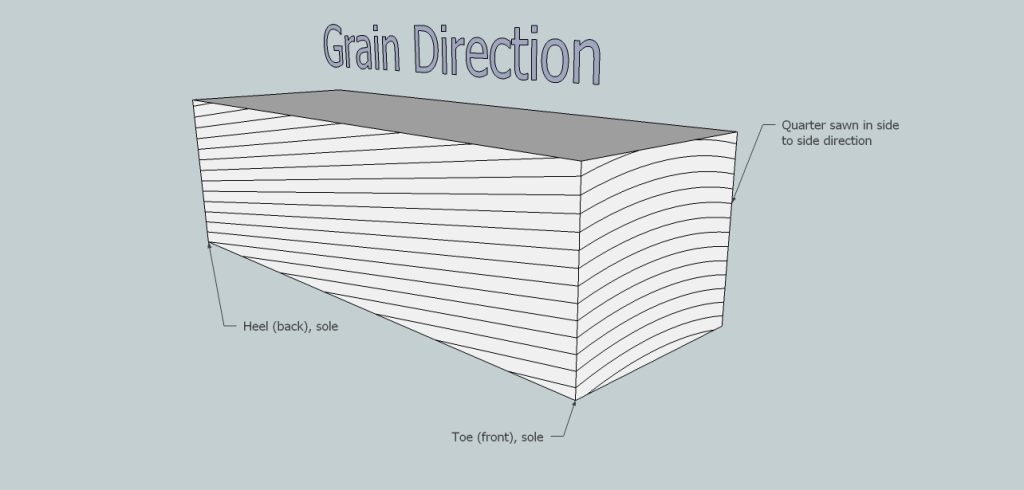
Popular maxims say that the radial plane of the wood should be oriented towards the sides of the plane. This means the growth rings will appear horizontal or parallel to the sole when you look at the toe or heel of the plane. This puts the medullary rays running vertically and therefore the least amount of movement, minus the longitudinal (end grain) plane, will be from top to bottom of the hand plane. This makes the sole most stable and presents a surface that is similar to end grain as the rays terminate at the sole creating an end grain like surface when it comes to moving moisture. Stability and uniform moisture management is nice for keeping the sole flat but minimizing movement between the wedge and cheek abutments that lock the wedge and blade in tight while planing is equally important.
 All this makes perfect sense right? So why do we find some antique planes with the grain running vertically? John Whelan even comments on this in his Plane Making book and opens the proverbial can of worms that perhaps this dogma may be blind tradition. Perhaps parallel grain lines (wider radius rings) allow for more isotropic behavior so now presenting the tough, extractive packed medullary rays on the sole makes for better wear? Hmm, now that is starting to make sense too…
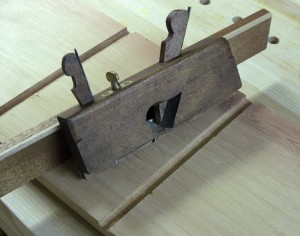
Time out for a second for me to say we are talking about bench planes here, not moulding or joinery planes where the sole needs to conform to a set width in order to do the job. Think about precisely sized hollows and rounds or dados planes that cut a set width. So what if we add those to the equation?  With the radial plane on the sides doesn’t this now set the direction of greatest movement to be across the width of the sole? So your 7/8 dado cuts a wider dado in the summer than it does in the winter. A typical hand tool nut (if you cut mouldings and dados by hand you automatically qualify as a nut) will shrug this off and say that precise size isn’t that important when you size your mating parts to fit and your mouldings hardly need to be reference surfaces (unless your making table rule joints…hmmm). So perhaps maintaining the bed and cheek abutment is the most important thing here to keep a solid grip on the blade. I can go with that logic and write off the changing sole width by rationalizing that with a smaller plane the movement will be less noticeable than the heftier hunks of wood involved in bench planes.
It seems that even the traditional method of grain orientation is a compromise of sorts where the greater importance is keeping that bed, wedge, and abutment relationship the most stable.
So what happens when you ditch the abutments and use a long grain pin
Lamination and Cross Pins Change the Game
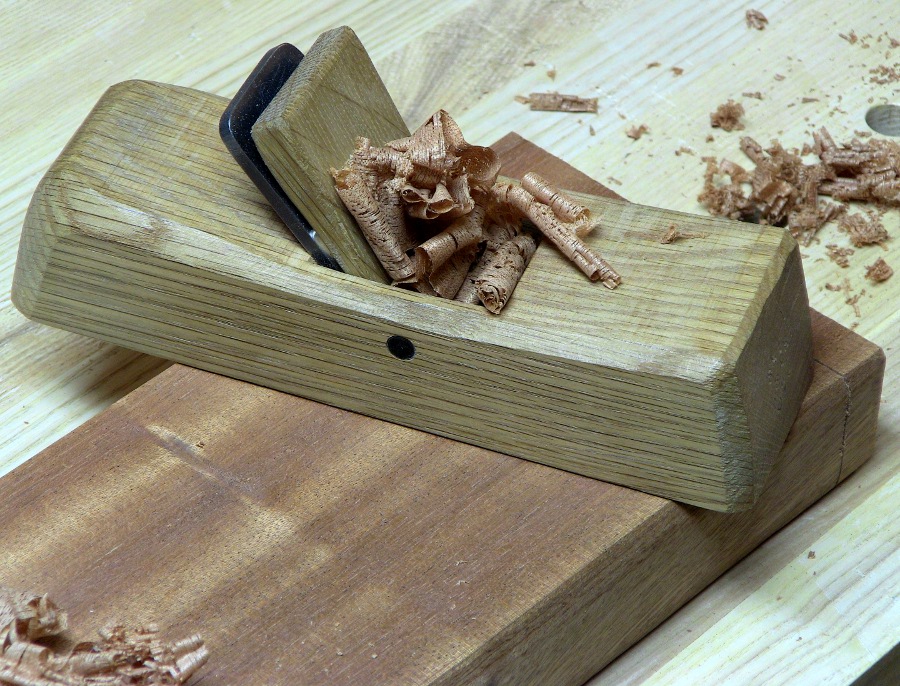
Despite hundreds of years of experience 20th century laziness prompted someone (not sure if Krenov was the first) to saw apart a blank to make it easier to create the bed and escapement, then glue the whole thing back together and stick a pin through the cheeks to hold the blade and wedge. No longer is the wedge held in place by abutments that are integral to the body of the plane and therefore move in concert with the grain orientation of that body. Instead we have an entirely different grain orientation and a small enough crosspiece that essentially wood movement is almost negligible. I have even seen some makers using a steel rod for this wedge pin. Now orienting our grain to ensure stability at the wedge, blade, bed junction isn’t a factor as the pin stays constant and if expanding grain increases the gap between blade and wedge you simply drive the wedge in a little further. Hooray for simple machines! Does this mean we could rotate the grain 90 degrees (rings running vertically) and take advantage of a more stable width across the sole and a tougher radial face? Why not? No, seriously why not?
With the rings running vertically the instability lies in the height of the plane. Could this cause the bed to deform and cup or does the introduction of a cross pin stabilize this like a breadboard on a table? Again by choosing parallel grained wood is the instability more isotropic and therefore no cupping but just vertical swelling is the result. I’m doubtful on the later as with any organic product there are too many variables to predict the movement and uniform is hardly ever an option. Still the cross pin acts like a strut and the vapor barriers of glue add rigidity to anchor the pin as well. What kind of stiffening can we expect from that line of glue? In fact if laminating a plane from 3 blocks adds stability would not laminating the center block and making 4 or 5 laminations make it even more stable? These are questions that I do not know the answers too and introduce even more variables like the glue used. Whether or not there is a vapor barrier or even if the glue stiffens things is something that is still open for debate.
I think the key difference that changes the game with a Krenov style construction is that cross pin “brace”.
Why do we care? What does this mean to the would be planemaker? Quartersawn stock in heavy thicknesses is hard to obtain. Properly dried stock in thicknesses over 8/4 is even harder to find. The average bench plane is going to be about 3 3/4-4″ wide and 2-3 1/2″ tall. By insisting the growth rings run horizontally we need to find quartersawn 16/4 stock that is at least 3″ wide or glue up a block of around 3 3/4 – 4″ thickness from thinner quartersawn, 3″ wide material. Alternatively a 12/4 flatsawn board would work that is at least 4″ wide but recognize your plane height will be limited to about 2 7/8″.
Now imagine you could position the grain running vertically or maybe edging into more riftsawn grain and relying upon the cross brace of the pin. Suddenly you have a lot more board options. In the end just by deciding to laminate to create your plane means that you can actually do it with a 4/4 board by gluing together pieces to get your thickness. By having freedom to orient the grain means you could do this with flatsawn stock and run your grain vertically. Now any board you find will work for a plane.
So here we go. Cry Havoc, and let slip the dogs of war! How dare I question the planemakers art as a simple woodworker who uses planes built by others? Seriously I want to hear where my thinking is wrong. I have some practically perfect boards that I can use to make my planes that will adhere to all the standard conventions, but I have 4 or 5 boards for every one of those “perfect” boards that would work just as well.


